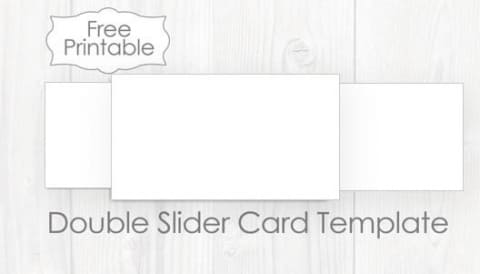
Blank Double Sliding Reveal Card Template

Slider reveal cards are a clever way to send a surprise message that isn’t displayed until the recipient slides out the insert. Some uses for sliding reveal cards might include:
Pregnancy announcement
Baby gender reveals
Hiding a gift certificate
Gifting cash
Redbox movie gift codes
Presenting surprise tickets to a sports game, amusement park, vacation tickets, movie, etc
You’ll love this template if you’re looking for a simplified method to create a double sliding reveal card. Our template only uses 3 pieces of paper instead of 6 or more; making it much easier to assemble. This template can also be used as a single slider reveal card; just leave out the back insert.
This template is blank so that you can add your own design, but we’ll also be adding several designed versions that will be ready to print, assemble and use within a matter of minutes. We even have a printable envelope.
Tips = You can change the front and back insert positions if you would like to affix a gift card or money on the left side of the card rather than the right.
Add a notch to the right front side of the card to make it easier for the recipient to pull out the front insert.
We’ll be adding a video to accompany this tutorial soon.
Supplies Needed
- 2 sheets of card stock
- glue stick For sealing the finished card
- double-sided tape (3 x 1.5″ pieces) 1 to seam the plastic and 1 for each insert
- regular transparent tape (2 x 1.5″ pieces) For wrapping the ends of the notches to improve sliding
- strip of plastic from a ziplock bag (1 5/8″ wide by 12″ long) The slider mechanism
- tool for scoring card spines (and ruler if you want crisper edges)
- scissors
Additional instructions have been added to the templates.
Instructions
- Print and cut out both templates so that you have 3 pieces (the card and the 2 inserts)
- Using a scoring tool, heavily score all 4 lines of the card spines (C & D). Then fold over and crease the lines to create the two spines.
- Wrap the ends of both notches (A & B) at the top section of the card (Insert Holder E) with a 1.5″ piece of tape (this will greatly improve the smoothness of the sliding mechanism)
- Cut a 1 5/8″ wide by 12″ long piece of clear plastic from a ziplock bag. Wrap the plastic around the notches (A & B) of the Insert Holder (E) and secure together using double-sided tape. Cut off any excess plastic. The plastic should slide smoothly and not be too tight or too loose. IMPORTANT – Position the taped seam of the plastic right next to the left notch (A).
- Place a 1.5″ piece of double-sided tape directly on top of the the plastic seam located next to Notch A; this will be used to attach the Front Insert. Position the Front Insert over the plastic strip so that it is flush with the left side of the card Insert Holder (E) and centered evenly between the top and bottom of the Insert Holder (E), and press into the tape to secure the Front Insert into place.
- Flip the card over, and place a 1.5″ piece of tape on top of the plastic directly in front of Notch B; this will be used to attach the Back Insert. Position the Back Insert FACE DOWN so that it is flush with Notch B, and centered evenly between the top and bottom of the Insert Holder (E), and press into the tape to secure the Back Insert into place.
- Flip the card back over and test the sliding mechanism by pulling on the Front Insert and verify that both inserts are positioned properly. Adjust the inserts if necessary.
- If you’re happy with the results, fold section E and F up and over the Insert Holder (E), then run a very thin line of glue using a glue stick along the very bottom of the Bottom (F) and press to seal closed.
The template files are available in .zip format and contain 2 image files (the card and the two inserts)
File Download
If a new window does not open,
you may need to disable pop-up or ad blockers in order to download this file
