Create A Pop Up Name Card
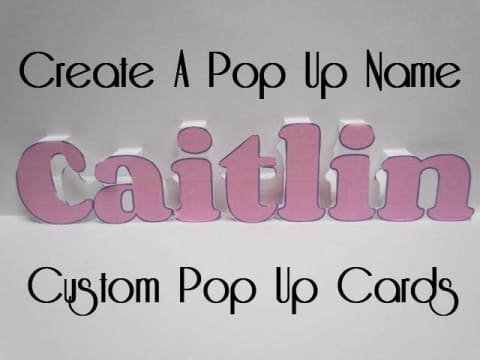
You’ll need:
A pencil
Card stock paper
An X-ACTO knife or craft knife
A blunt tool for scoring fold lines
A ruler or edge
Use our Online Stencil Generator or word processing software to create a large stencil of the name. By default, our generator will create a 10.5″ image for you to download. 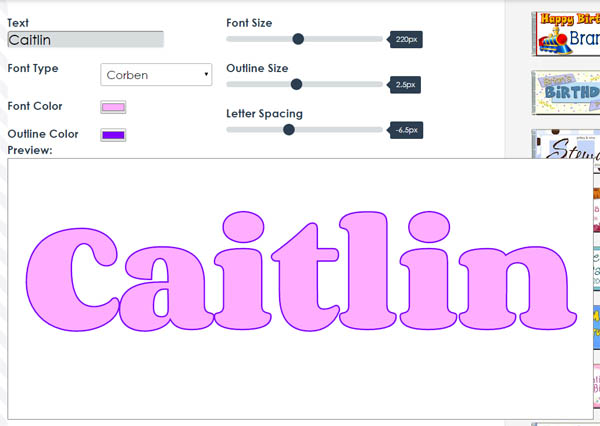
If you’ll be placing the pop up inside a standard 5×7 card, the image should be less than 6 inches wide. If needed, resize the image using any standard image program such as paint, or online using Pixlr.
Name and word pop ups look best when they extent no more than 1/4 inch out. So, your tabs and folds will all be 1/4 inch.
Instructions after printing (see images for examples)
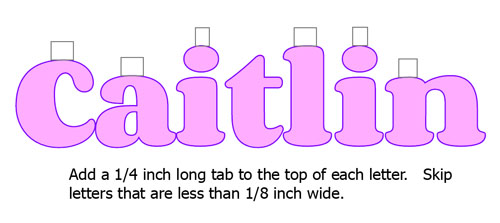
- Using a pencil, draw a 1/4 tab at the top of each letter. Skip letters that are less than 1/8 inch wide.

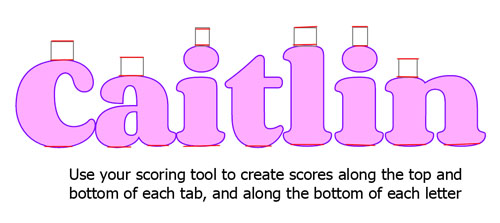
- Use your scoring tool to score the top and bottom of each tab.
- Next, use your scoring tool to score a fold guide at the bottom of each letter. A ruler will help create cleaner score marks. The red lines below show where we placed our scores for the tabs and letters.

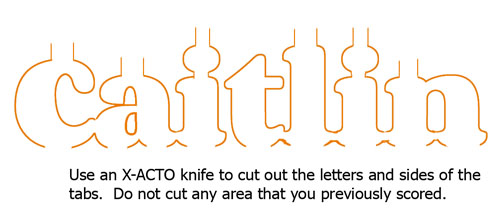
- Use your X-ACTO knife to trace the outline of each letter. Do not cut any of your scored lines. The orange lines below show the lines we followed to cut out the pop up letters. Where the letters are joined, avoid separating them. For the letter ‘i’, we kept the dot and letter together.

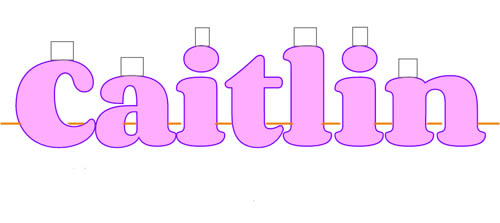
- Using a ruler, lightly draw a page crease line behind your letters. Because the tabs are 1/4″ in length, the page crease line should be positioned 1/4″ higher than the bottom of your letters. The orange line shows where to position the line. Lightly score the page crease.

- Finally, begin making the creases that will make the name pop out.
- Fold the top of the tabs inward
- Fold the bottom of the tabs outward
- Fold the bottom of the letters inward
- Line up the paper’s edge and gently fold the page over. You may need to guide letters to fold properly along the way, until you are able to completely fold the paper onto itself.

